Wednesday, October 24, 2012

Master bedroom sneak peek

If you are wondering where I've been this week the answer is simple...slaving away on my master bedroom.

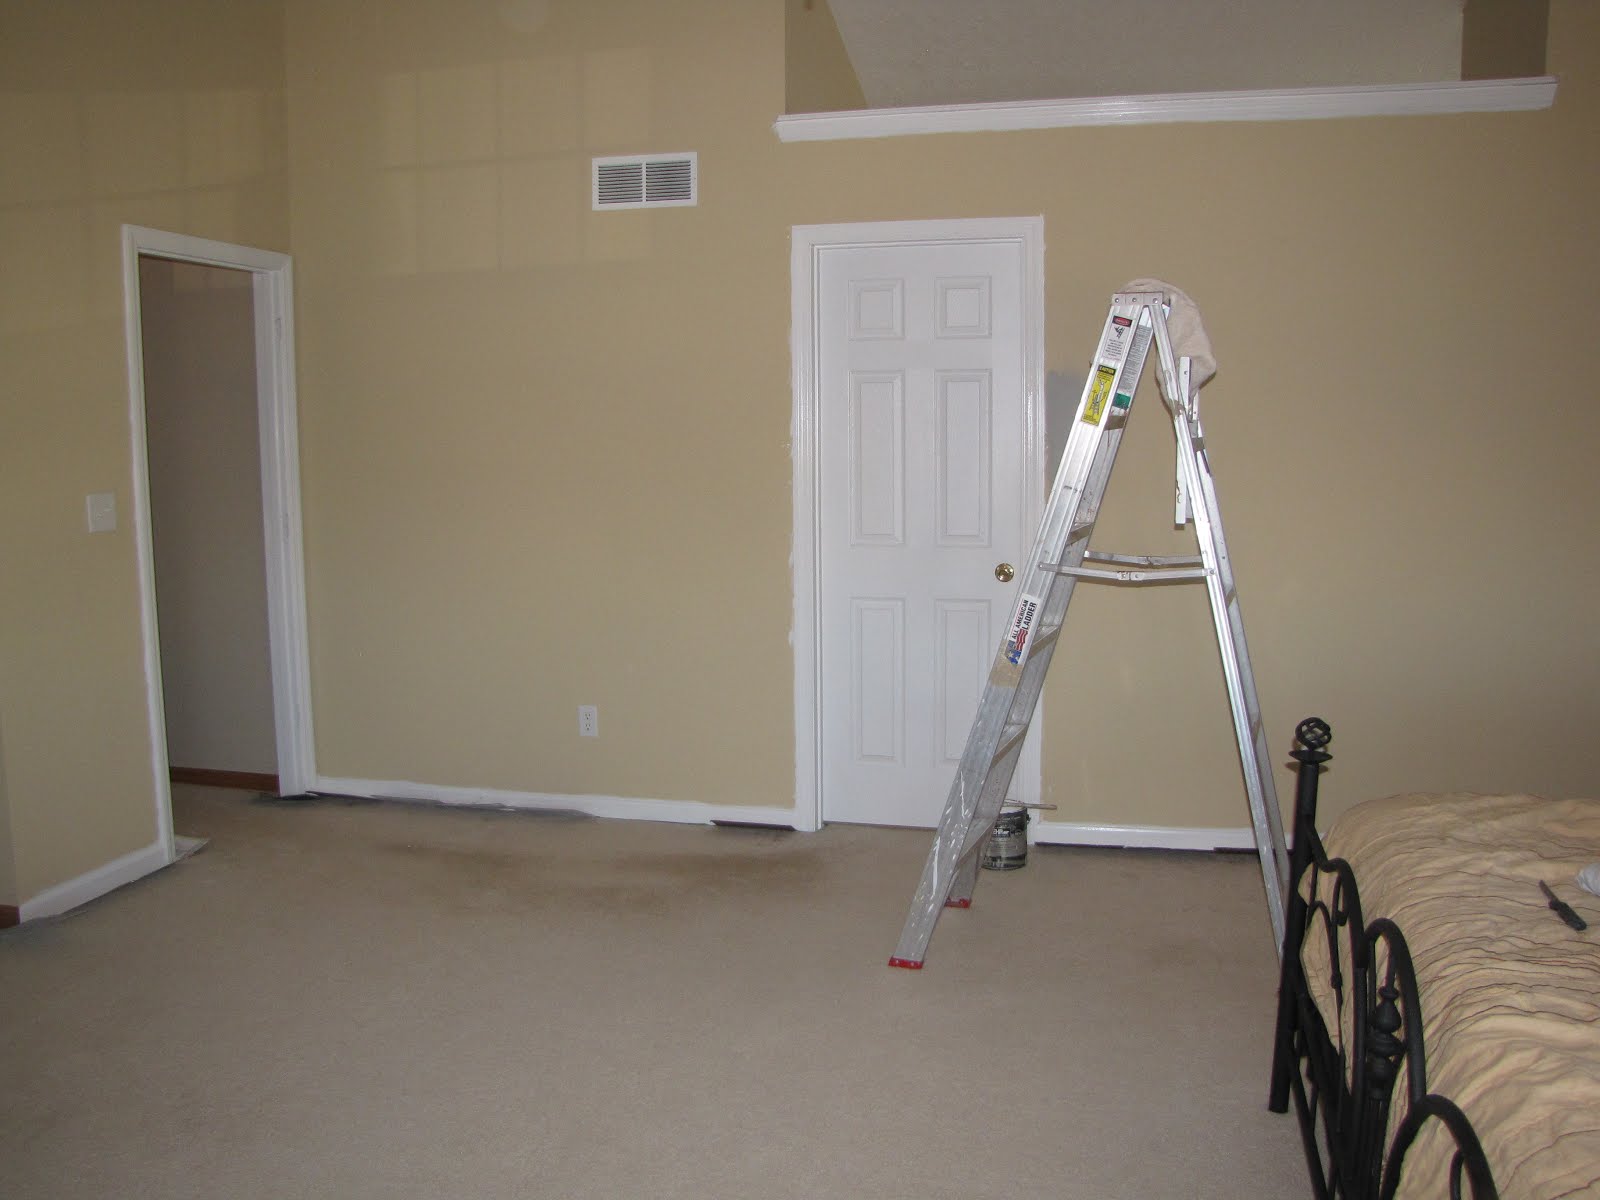
I love finally having a large master bedroom and bath, but WOW so time consuming to paint. It took me three days to get our bedroom painted. Here is a sneak peek of the color I chose.


Our master bedroom is large and gets lots of natural sunlight so I decided to go with a darker shade of gray.

The color is elephant skin by Behr.

Now I've moved on to painting our existing furniture {remember that budget}. Here is a sneak peek of how that is going.


Yes, I am painting furniture in our bathroom!

As you can see I still have quite a few things to complete in my master bedroom makeover.

Master bedroom

Paint trim
paint room
paint furniture
find new {inexpensive} bedding
new or re-purposed lamps
diy artwork
gallery wall
curtains
spruce up ceiling fan

It helps me stay focused and on schedule when I keep a list of what I need to do. I'm hoping after today I can cross one more item off that list.

 I know I will be painting with the windows open today since we are having such warm weather this week here in Ohio! Love it!

                                                                                           Amy

Monday, October 22, 2012

I just want to send a quick THANK YOU to Courtney from A Thoughtful Place blog for featuring my organized lunch drawer today on her blog. I love her blog and she has some other fantastic features today so head on over and check them out!


                                                                                             Amy

Friday, October 19, 2012

Coupon savings

Sorry no craft projects or bedroom makeover pics today folks. Nope, today I am excited to share some great shopping and couponing deals.

I'm not exactly new to the world of couponing, I've always used them here and there without much planning involved. This past month I decided to get more serious about coupons and more importantly about saving money!

The first thing I did was find a great online source to help me out. Savings lifestyle notifies me of deals in my area and freebies as well.

The second thing that I still need to do is put together a coupon binder. I'll share this with you when I complete it.

Yesterday I made two trips to Kroger {my main shopping source}. On the first trip I picked up these items.


Total cost after coupons was $20.98 plus I received two $5.00 off future purchase coupons.

After my daughter's dance class last night I couldn't resist stopping again {we drive right by the store}. On this trip I picked up ten boxes of Betty Crocker potatoes and six packs of gum. Total cost after coupons was $2.87 plus I also received two more $5.00 off coupons!


My kids think I have went off the deep end with all the potatoes we now have in our pantry!

If you have a Kroger in your area the prices are good until Sunday. Betty Crocker potatoes are on sale for $1.00 and  when you buy five you receive a $5.00 off future order coupon. It's like getting them for free!

Good luck with your shopping!

Let me know if you have any coupon secrets or tips for me!

Have a wonderful weekend!


                                                                                         Amy


Thursday, October 18, 2012

The beginning of one MASTER makeover

We've been in our new home for almost a year and a half now, and still our master bedroom sits untouched. I guess I was putting off this room for several reasons. First, I wanted to have a large budget for this room so I could get new everything. Secondly, our master bedroom is HUGE with vaulted ceilings and lovely brown trim to paint. Lastly, nobody really see's our bedroom anyway.

Wrong, wrong, wrong!

Time to get real!

 With three kids and tons of activities I won't have the budget for new furniture until they are out of college! Yes, I will have to spend lots and lots of time painting. Yes, everyone does see our master bedroom especially when you have a new home and visitors want a tour. 

So last weekend I decided to start the makeover. I began with my favorite thing in the whole world...painting baseboards and trim! I worked on the trim off and on for three days, but it is finally complete!

Before


After


It makes me so happy to see all that fresh white trim! Next on my list is painting the walls. I am so tired of waking up to gold walls every morning!

I promise to keep you updated!

You can also see sneak peeks on instagram...Amyhomehappyhome


                                                                                         Amy

Monday, October 15, 2012

Everything's gonna be alright!

Happy Monday!
Hope you all had a relaxing weekend!

I just wanted to pop in and share with you a custom wood sign I made last week for one of my husbands friends.


If you want to see how I make my signs you can check out my tutorial HERE.

Over the weekend I started a huge, gigantic, master of a project! Hmmm wonder what it could be? This one is going to take some time, but I'm so excited to have finally gotten the ball rolling. I'll be back tomorrow to share.


                                                                                   Amy  


Linking up to...
the36thavenue serenitynow                                                                                                                                                                                                     

Thursday, October 11, 2012

Instagram

Guess what today is?

10-11-12

I just thought that was neat!


Anyway today I wanted to invite you to join me at Instagram.
I'm just now learning about it and I would love for you to follow along {Amyhomehappyhome}. Leave me a comment and I'll follow you back!


I also recently added an Instagram feed to my sidebar. It was so easy, I found a great tutorial HERE. I was able to set it up in under five minutes!

Looking forward to seeing you all over at Instagram!


                                                                                       Amy

Wednesday, October 10, 2012

Basement bath mini makeover

If you read my post on Monday then you've probably guessed that the next room on my makeover to do list is a bathroom.

Monday I showed you these fabric covered frames that I made on the cheap.


They are now hanging in their new home in our basement's half bath. There is a reason you've never seen this room before. It was {past tense} a dark and dreary room that nobody wanted to use, including myself. The walls were a dark gray and the lighting was awful. 

Since my budget {nearly nonexistent} didn't allow for any major changes to the room I decided to brighten it up and make it a more pleasant space.

Here is the before...


Here is the after...


To brighten up the space I painted the walls the same color as our basement {a lighter shade of gray} and added a new light fixture. WOW, just doing those two things made the room feel so much lighter. 

The budget didn't allow for a new mirror {I did look and drool over a few} so I spray painted the existing mirror white.

The fun part was adding all the cute accessories which I picked up at Hobby Lobby {all at 50% off}.

I'm so pleased with how the room looks now and glad that I was able to complete this mini makeover on a mini budget! Total spent on this room was right around $80.00.

Thanks for coming by!


                                                                                        Amy


Linking up to these fabulous parties...

Monday, October 8, 2012

Fabric covered frames

After taking a week off from blogging {sick kids, projects, blogging writers block} I'm back today to show you what I did get done last week!


I made these cute fabric covered picture frames from clearance frames I found at Target a few months ago.

They started off like this.


Did you see that price? $1.24 folks. I knew when I saw these I could do something with them so I grabbed the only three they had left. They sat around for awhile until I knew what I wanted to do.

I began by taking everything apart and painting the sides and front black. My daughter asked me why I painted the front if I was covering it up with fabric. Good question, some of the fabrics were thin and I didn't want to see any of the design through it, I also knew there would be places the fabric wouldn't cover.


After the paint dried I traced the frame onto my fabric.


I don't have any photos of next steps because my hands were kind of sticky and I honestly just forgot!

A tip I picked up somewhere on Pinterest was to coat the fabric in modpodge before cutting to help avoid frayed ends.
I didn't have modpodge so I used my kids Elmers white glue {kind of the same thing}. I used a paint brush and lightly put some glue around all the lines where I would be cutting.

After letting the glue dry a couple hours I cut out my fabric.

Once again I used Elmers glue and a paint brush to attach the fabric to the frames. Then I coated the front of the fabric with glue as well.


I picked up the polka dot fabric flower at Michaels last week for 40% off. So this little project was completed for around $5.00 total!

Can you guess what room I'm hanging these in?


Happy Monday!


                                                                                   Amy


Linking up to these fabulous parties...
thededicatedhousecraft-o-maniacdiyshowoffourdelightfulhomecherishedbliss
adiamondinthestuffromanceonadimemyuncommonsliceofsuburbiaadventuresofadiymomelizabethandco
thewinthropchroniclesabowlfulloflemonssugarbeecraftscornerstoneconfessionsnatural-nester
primpmygirlishwhimshandymancraftywomanthenymelrosefamilycleanandscentsibleallstarblockparty
thediydreamersugaranddotssomedaycraftstwoyellowbirdsdecorthe36thavenueembracingchange
housewivesofrivertonhouseofhepworthslivelaughrowe2805frenchcountrycottageherecomesthesun
lizmariescrappycraftyhappyserenitynowmysimplehomelifecheeriosandlattesitsoverflowing
sixsistersstufftatertotsandjelloshabbynestclassyclutter