Showing posts with label pallets. Show all posts

Tuesday, December 16, 2014

Christmas countdown pallet sign

Christmas is only nine days away and I realized I still needed to share this fun project that will help your little one's count down the days!


I started off by assembling my pallet sign and giving a light coat of white paint.


If you have a steady hand you can free hand your words onto the sign, but I'm not crazy about my handwriting so I printed out my wording on the computer.


I attached the paper to my board with tape and slipped a piece of carbon paper (black side down) underneath.


Then I traced over the words with a pencil.


Voila! Perfect wording! 

I used a small paintbrush to fill in the wording.
I found these cute chalkboards at Michael's that I hot glued on after the paint dried.


I used a needle and thread to string some festive pom poms and then hot glued the thread onto the back.


Add a hanger to the back and you are ready to start your countdown.

Cute, inexpensive, and easy a winning combination!


Linking up to...

Wednesday, June 12, 2013

Upstairs hallway transformation

If you've been following me for awhile you already know my battle with brown trim. I have finally conquered ALL of the trim on our main floor and have slowly been working my way  upstairs. Slowly because I despise painting trim! 

Last fall I painted the trim in our master bedroom when I gave the room a much needed makeover, but that was the only trim upstairs that I touched. UNTIL NOW!


Two days and seven doorways later the hallway looks so much brighter!


This is the kids end of the hallway.
Yes, my kids hang junk precious labels on their bedroom doors, and yes it does drive me crazy. However, I have learned to pick my battles... so they stay {for now}.


I needed some art for the hallway so I used some pallet art that I had already made.


I also recycled some old frames by giving them a coat of spray paint. I found the free printables on Pinterest.


So much better and completed for FREE!

Only six more rooms to go!


                                                                                              Amy
 
linking up this week to...


Tuesday, June 11, 2013

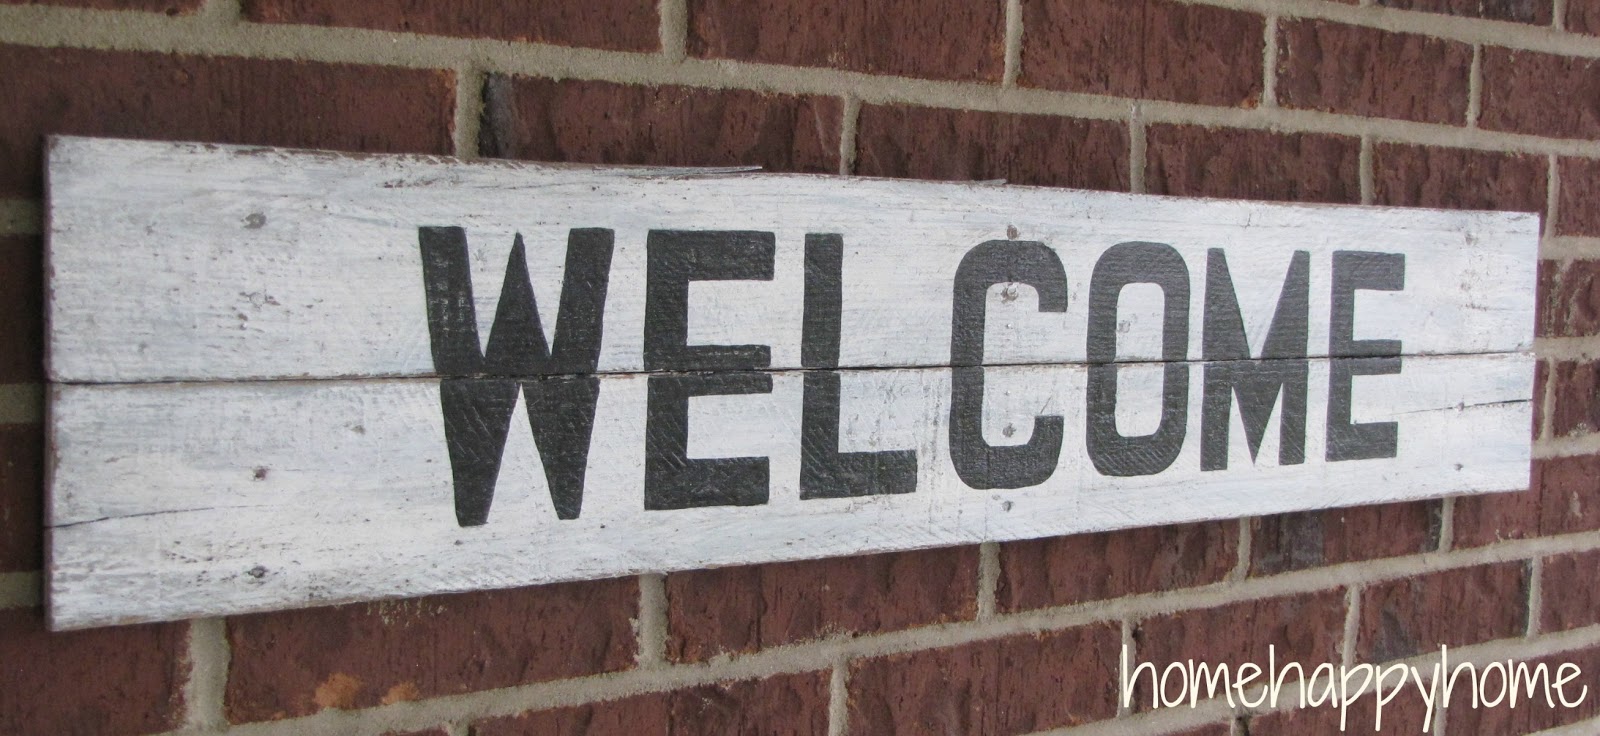
Pallet welcome sign

I am loving summer vacation so far! My kids are keeping me busy, but I still managed to sneak in a project or two last week.

I used some leftover pallet pieces to whip together this welcome sign for our front porch.


Something about a stack of unused wood makes me smile...so many possibilities!


I started off by giving my boards a coat of primer.


Then a coat of white paint {not pictured}. I then lightly dry brushed on some teal colored paint.


I let every coat dry before moving on to the next. After the teal I added a bit of gray/blue paint. Finally I added just a light coat of white paint {not pictured}. Once all the paint dried I went over the entire piece with sandpaper.


I placed my stencil where I wanted it and traced away.


I used a small paint brush to paint in the letters. Once the letters dried I used some sandpaper to rough them up.


My handy husband hung the sign for me {even if it hangs crocked sometimes}.


To see our front porch and some of my diy porch projects from last summer you can follow the links below.


                                                                                            Amy

linking up this week to...


Monday, March 5, 2012

My pallet art

If you read my post last Thursday pallet love  you will remember I left you hanging with my unfinished piece of pallet art (don't you love a good cliff hanger). I got busy over the weekend and here is what I came up with.


Working with these pallets was not as easy as I thought it would. Be prepared for some manual labor prying those dang wood pieces off!
It started like this...

Then this...


I gave the piece a sanding with an electric sander and then painted it...


Wrote out my quote in pencil.


I used a small paintbrush to paint the words on. For the branches and birds I cut out shapes on my Cricut machine and then traced them in pencil.


I painted the birds on in layers one step at a time. 


When I was finished I gave it another light sanding with the sander just because I wanted a more distressed look. I love the finished piece! My kids like that there is a bird to represent each person in our family!


Now I'm looking forward to getting my hands on some more pallets. I've still got all those idea's floating around in my head!
 
Have a fantastic Monday!
 
                                                                                              Amy


Thursday, March 1, 2012

Pallet love

I know I'm not the only one who has a weird obsession with pallets. By the way who came up with the name pallet?

When I told my husband "I have to get my hands on some of those pallets" he looked at me like I had lost my mind (I get that look from him quite often)! "A what" he replied. After failing at trying to describe what I was talking about I finally just had to show him. At this point he still thinks I'm crazy! "Trust me" I say (seems like I say that a lot too).

On with my rambling story. So the other morning my husband had me drive him to the local hardware store. When we pulled up in the parking lot what should I see just sitting there. Yes, you guessed it a lonely pallet! I told my husband "we have to get that". I waited in our van while my husband went in to make his purchase (another story but I was still in my pajamas). When he came out he walked over to MY pallet and then put it in our van.


He said he asked the guy working if he could have it and the guy asked him why. He told him it was for his crazy wife. I do love that sweet husband.

So yesterday I am trying to decide what to do with the thing. The problem is I only have one (need to get more) and I have about fifty million ideas floating around in my head. Headboard, bookshelves, art, coffee table...hmmm.

I decided to make some art for our very undecorated master bedroom. The first step was to pry the wood apart. Little did I realize these things were put together my body building lumber jacks. I pulled and tugged and hammered away for over an hour, but I finally got off the boards I wanted to use.


I decided how I wanted them arranged and then nailed on a smaller board to hold the piece together.


This is what it looks like today. I am still trying to decide how I want to paint it.


I'm hoping make up my indecisive mind soon so I can share my finished product with you soon.
Until then here is some pallet inspiration...

source

source


source

source

source

source
source


source


Pallet overload!

Please note that under each inspiration picture I have put a source link back to the original owner/creator. If you want to PIN some of them (please do) follow the link back to the owner first and then PIN from their site NOT from here directly. I hope that makes sense. If you PIN IT from here it shows my blog as the source on Pinterest and I don't want to take credit for work that isn't mine.

If you want to follow me on Pinterest there is a button on my sidebar!

Also my first linky party is still going on. Feel free to link up as many creations as you want!

Have a great day!

                                                                                           Amy