Showing posts with label DIY projects. Show all posts

Wednesday, July 26, 2017

Stenciled floor

Our half bathroom in our basement had the ugliest floors. Stained vinyl the previous owners had installed. I needed an inexpensive fix and replacing them wasn't an option. 

I'm addicted to Instagram and saw several people that had chalk painted their vinyl or linoleum flooring and it looked fantastic. I figured it couldn't get any worse so I gave it a try and holy smokes the difference is amazing!  


Here is what the old floor looked like. 
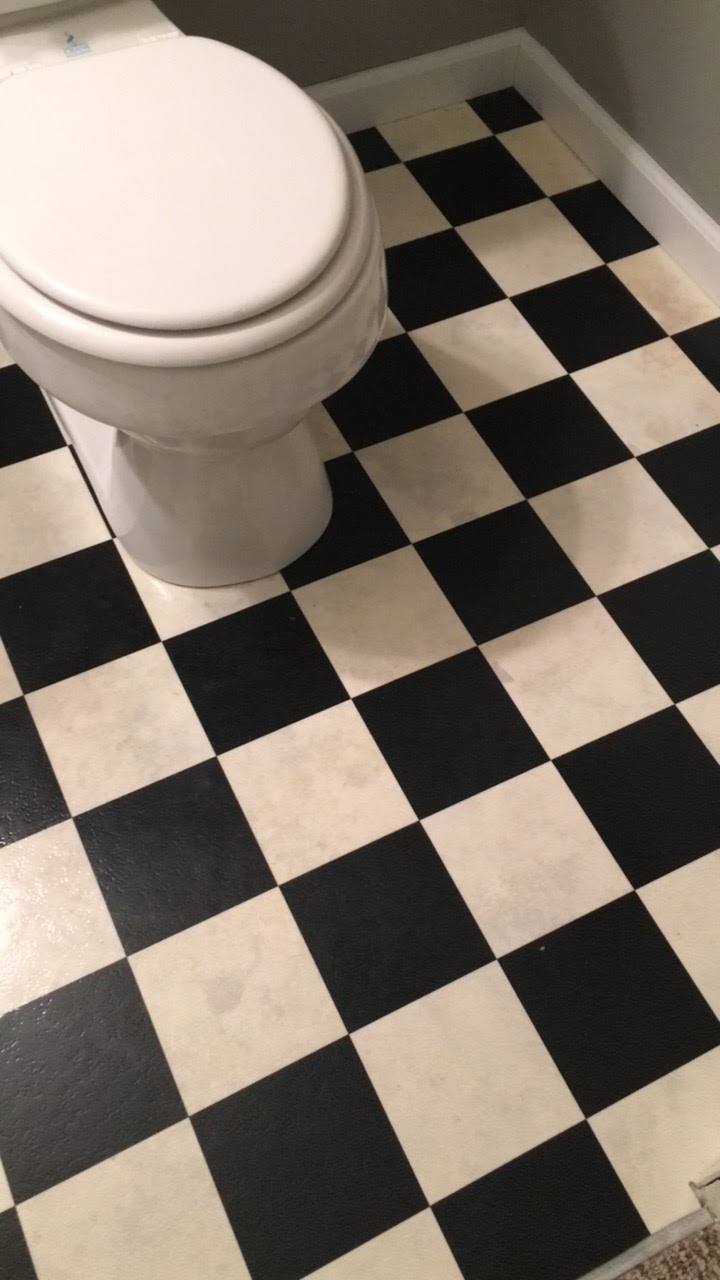


Step one was cleaning and then priming the floors. I used some leftover primer from another project and rolled it on with a paint roller.


I let the primer dry for several hours and then painted on the base coat color. I used 
Rust-oleum Chalked paint in charcoal. I found mine at Menards (link)

I used a small roller to roll on the paint and angled brush to get in the corners.


I let the base color dry overnight.


The next morning I started on the stenciling. This part took me all morning and afternoon to complete. I used painters tape on the edge of the stencil and lightly rolled on the Chalked Linen White paint with a small roller. 

My advice is take your time, don't rush, and wear some knee pads.


There were spots where the paint bled through the stencil. After everything dried I used a tiny paintbrush to do touch-ups. 


The third day I used a matte finish polyurethane and did three coats on the floor, letting it dry completely in between coats. This one is my favorite (link)


I love the floors and since I have leftover paint I'm thinking about stenciling the floors in my laundry room as well. I'll keep you posted. 


Linking to the following


Friday, April 29, 2016

Painted books

Today I have an inexpensive little project to share with you. 
Painted books.

It's really that easy...
1.Find some old books at a garage sale or thrift store
2. Paint them with acrylic craft paint
3. Distress the edges with a brown stamping ink pad

Here are the same books before I painted them.


Since some of the books were dark in color it did take several coats of white paint to get good coverage. Once the paint dried I ran my stamp pad along the edges. I've also heard of people using sandpaper to distress the edges. 


They look beautiful on my family room coffee table, and I only spent around $2.00 for the books. Love it!


linking to the following...linkpartypaloozacreativityunleashed,


Monday, April 25, 2016

Half bath makeover with industrial shelves

After recently repainting part of our main floor I decided our little half bath needed an update as well. 

It was still nice, but I was over the stripes and wanted a different look.


I started by sanding down the edge of each stripe. Then I painted the room smooth stone by Glidden. 

We added industrial shelving on the back wall above the toilet (love them to pieces).  We changed out the light fixture and added a wood frame around our existing standard build mirror. Lastly I added some new fun touches to the room.

AFTER


I stained the wood shelving and mirror frame with Min wax classic gray stain. We used Liquid Nail to attach the wood the mirror. 

Sorry this room is so small it's hard to get a good photo. 


Total budget for this room was under $200
Paint was leftover
shelving and mirror supplies $90.00
Light (found here) $30.00
Artwork/ decorations $70.00


linking up to the following...


Tuesday, January 26, 2016

Easy dresser makeover

Last month we installed new flooring throughout our main floor which meant moving all our furniture around. You all know how much I LOVE rearranging my furniture! 

I'm currently making some changes to my craft room and decided to relocate this dresser here. I was over the blue stripes so I decided to change them out for gray.


Before with blue stripes in our dining room


It took about ten minutes to tape off the stripes and paint over them in gray.


I was actually considering getting rid of this piece, but now I'm just smitten with it.


More glimpses of my craft room coming up this week!

linking up this week to...

Wednesday, January 13, 2016

NEW YEAR NEW FLOORS

Happy 2016!
So Excited to be sharing my first post of the new year and boy o boy it's a big one!

Over the holidays while I was pouring over photos of everyone's beautiful Christmas decor on Instagram and blogs my home was in a state of complete disaster. 


My husband and I decided that winter break was the perfect time to replace the flooring in our ENTIRE main floor. He had vacation hours to use, I was off from babysitting for two weeks, and our kids were out of school to help (free labor).

Here are some before shots so you can see all the glorious forms of flooring we were dealing with.


We had light colored carpet in my craft room, dining room and family room. Our kitchen had light/stained vinyl flooring. Our entry hall and half bath were hardwood, and our mudroom had another type of wood laminate. Yep, that's four different types of flooring.

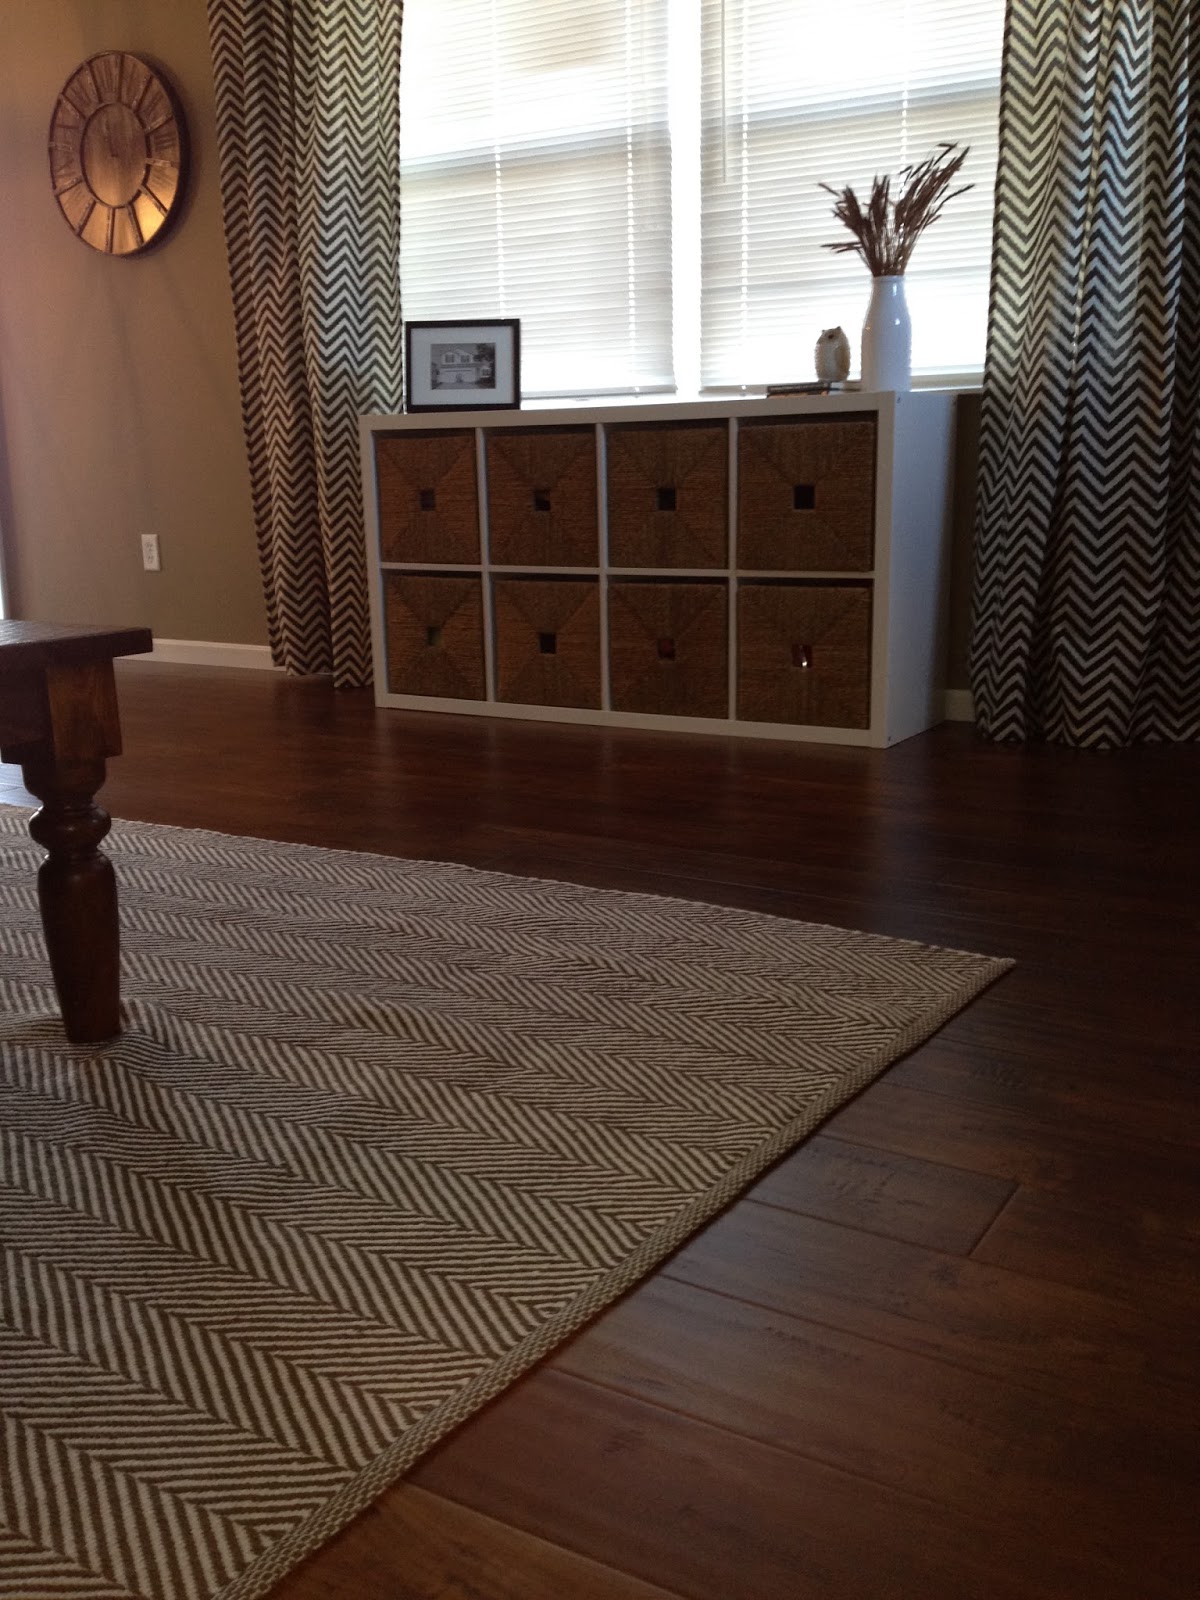
My husband and I looked at several flooring options and finally decided on a hand scraped wood laminate. We ordered it at Best Laminate (it was the same exact flooring carried at a name brand store, but less expensive). 

We worked one area at a time.
-Move out furniture
-remove old flooring and baseboards
-lay new flooring
-move on to next room
etc. etc. etc.

Here are some shots during the process.


 Did I mention the million of staples that had to be removed.


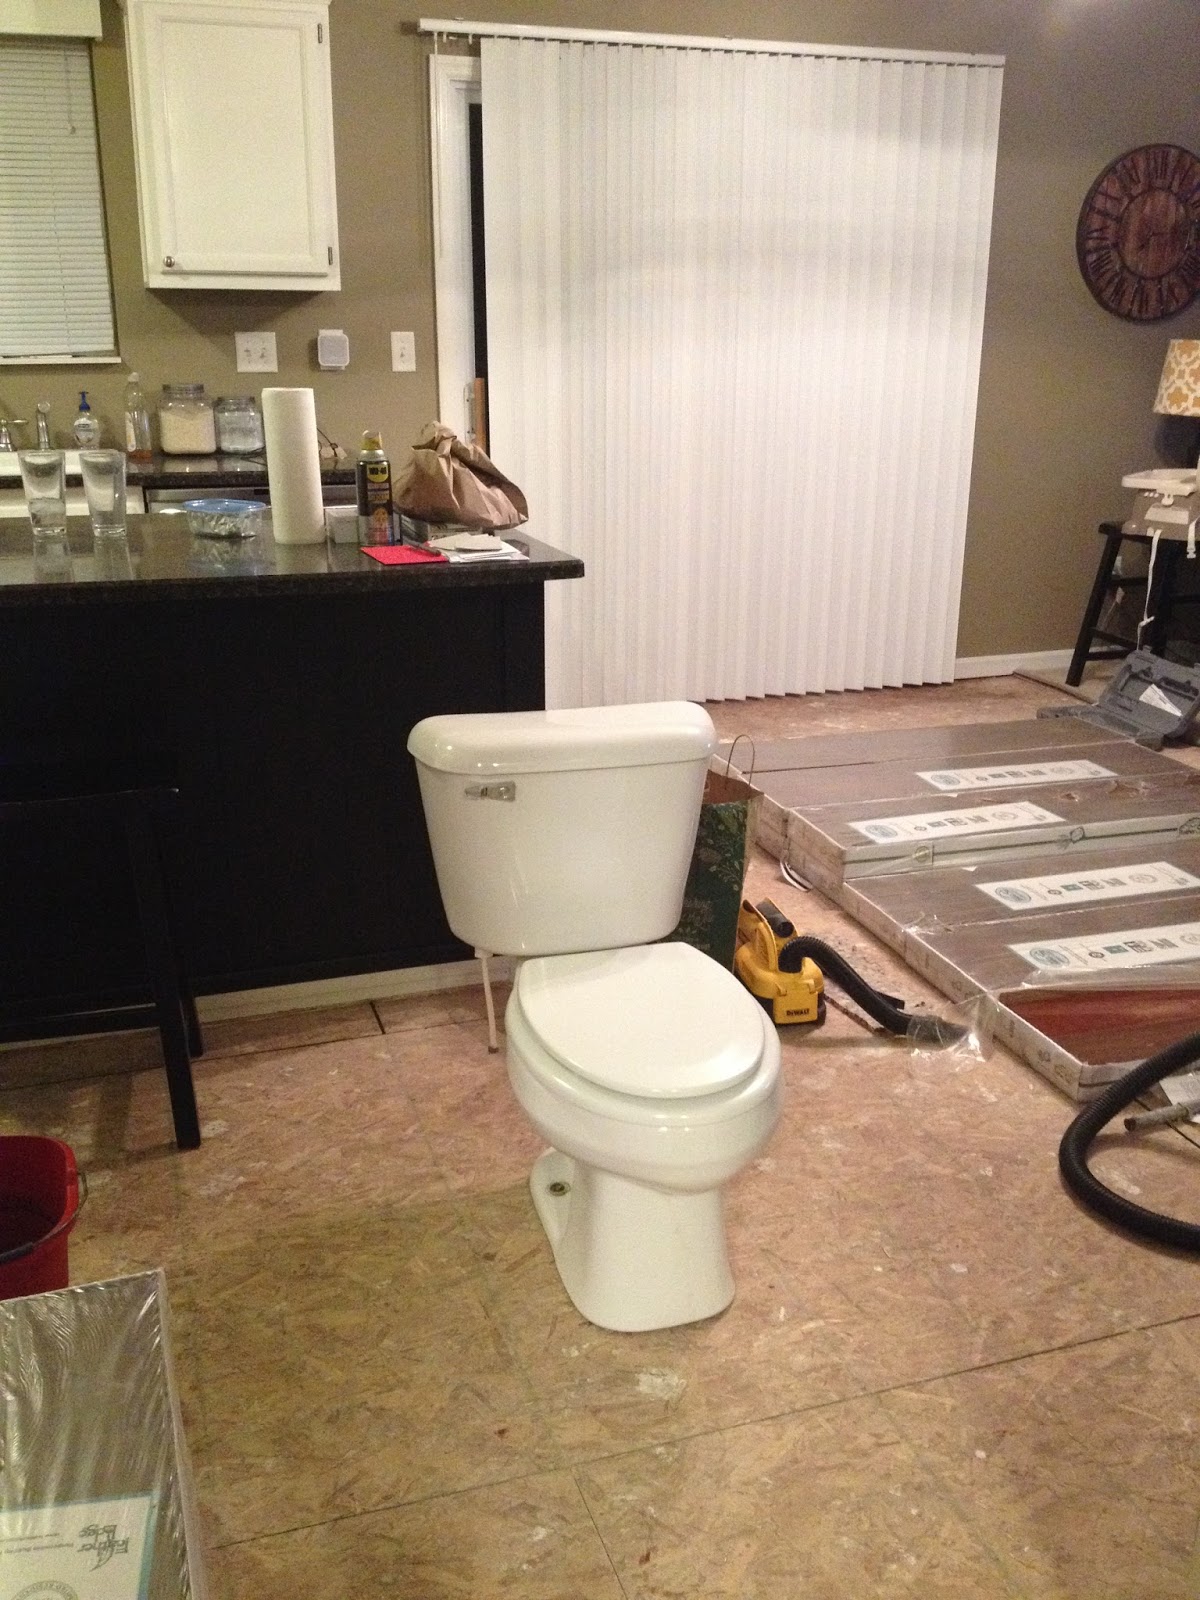
 Yes at one point we had a toilet in our kitchen.


Since the baseboards were off and we had some nice weather they all received a fresh coat of paint.

I have to say that my husband is the hardest worker I know. He worked from early morning to late at night on the floors with myself, my dad or our kids assisting him and sometimes all on his own. He had all the flooring installed in a week which was great because all the dust and chaos was really getting to me.

We are in LOVE with the new floors. 


You may have noticed that I also made some other changes to our house. Some spaces received a new coat of paint and we've added some new furniture as well. I'm hoping to post a more detailed look at each room soon.

Thank you for coming by!

LINKING UP TO...