
I hope you are all having a relaxing summer!
Sorry I haven't been around in awhile, I took a little blogging break to spend quality time with my family and do some major relaxing of my own!
I haven't done much in the way of crafting or decorating this summer, but my family has been working on one major project...fencing in our backyard.
We already had a fence around our pool, but we wanted to take that down and fence in our entire backyard. Just having a fence around the pool broke up our yard and made it seem small. Plus we wanted a place for our dog and kids to run around and play.
This is the back of our house before we started.
This is the back of our house before we started.

That's our beautiful red shed (can't wait to paint that down the road). Our neighbors already had a privacy fence on one side so we only had to fence in three sides of our property.


My husband and I had been talking about this for awhile and we'd tossed around several different ideas about fence styles.
We decided on a wood fence with zig zag pattern (not sure what to call it). My husband is a planner and designed everything on paper so we would know exactly how much wood was needed and if it would fit our budget.
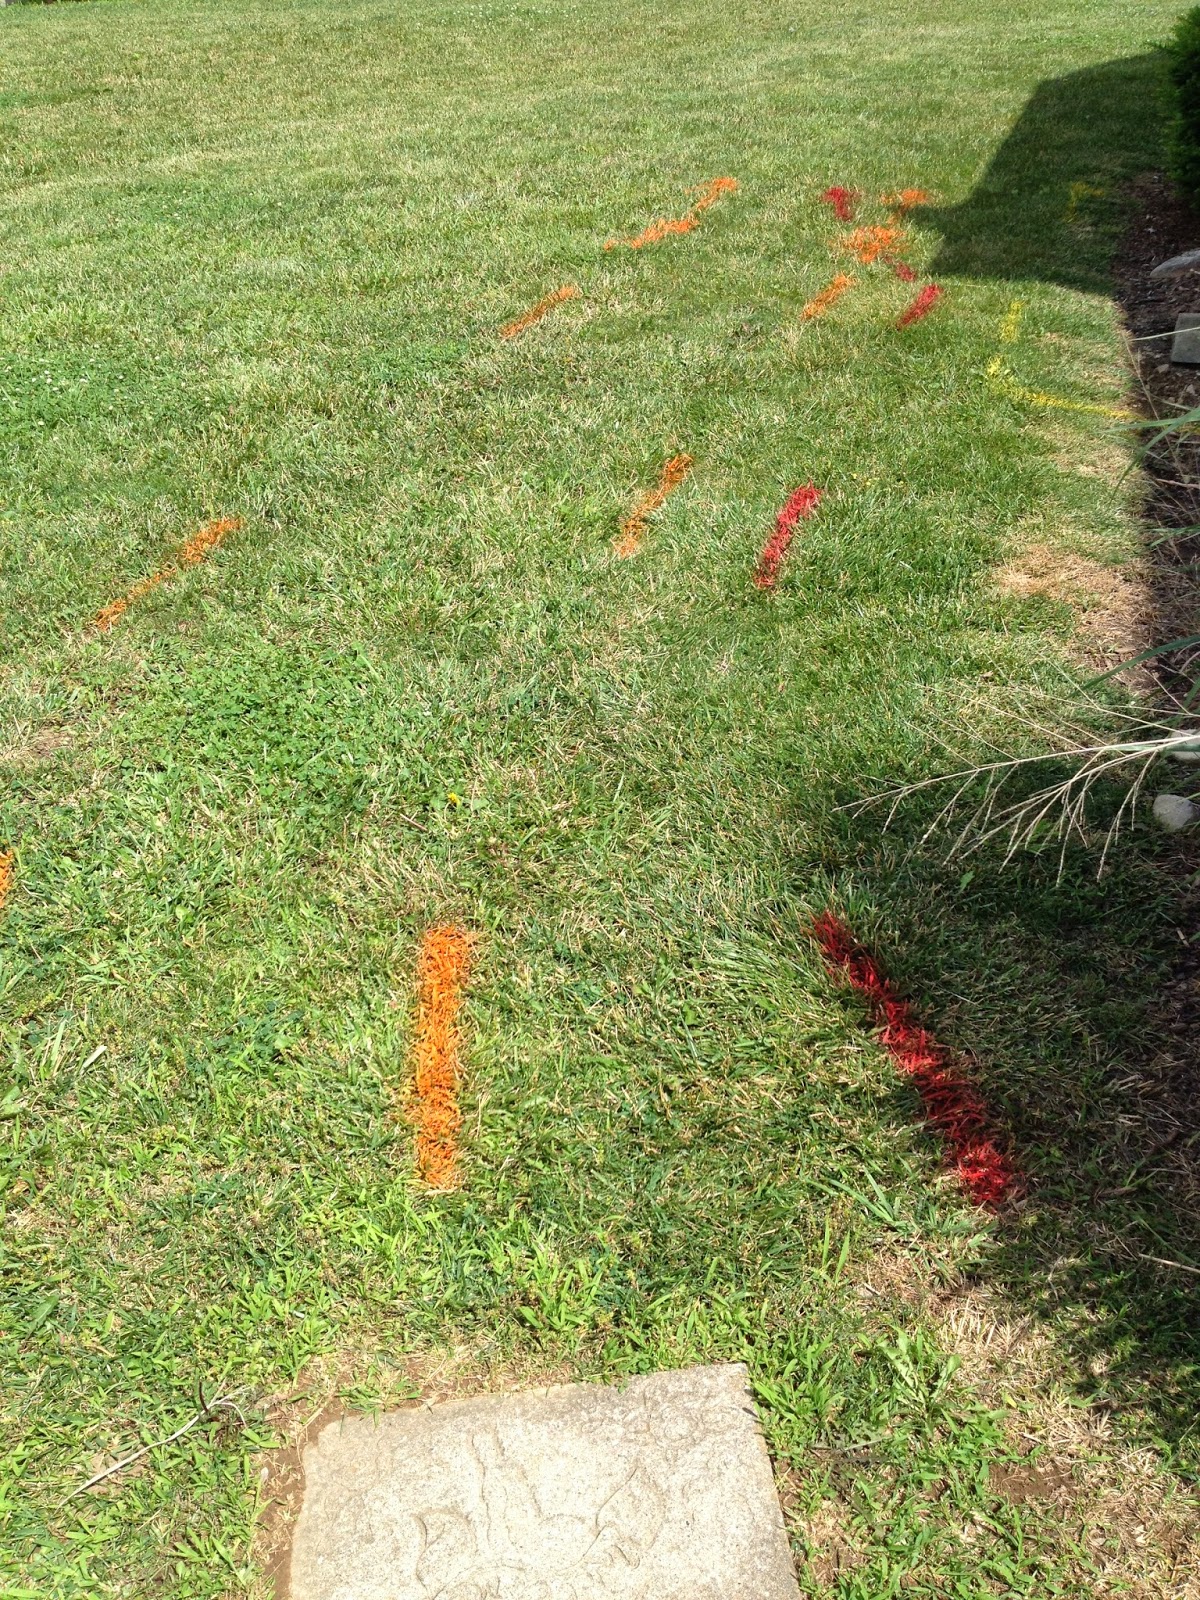
Before we began we made sure to get a building permit through our city, get our property surveyed, and have all the lines marked (cable, gas, electric).
We ordered all the wood and had it delivered.

My husband measured and marked where each of the 44 posts would go. He rented a heavy duty auger to dig the post holes.


Each post had to be measured and leveled and then concrete was added. Did I mention this was a family project! My husband did most of the work with assistance from myself and our two teens.


Did I mention we had to install 44 posts?


Once all the posts were in we got to start on the fun part (well it was the fun part for about ten minutes)! We bought a heavy coated wire that we stretched and attached to each post before installing the wood boards.


My husband took off a week of work for this project and we worked our bottoms off! I underestimated how much work building a fence is especially doing all of the work by ourselves!
I'll be sharing the completed project later this week.
Thanks for stopping by!
Amy
linking up this week to...thediy'ers, elizabeth&co, thewinthropchronicles


